Please Select Language : Back
FAQs
+ How can I get started?
  1. Sign in to your online console
  2. Download and install the setup
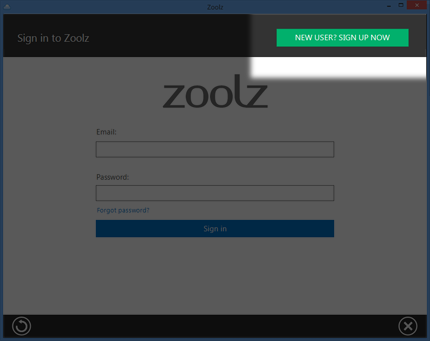
  3. Once the app is installed, sign in with your credentials
  4. Select what files you wish to backup
  5. Set your backup schedule, security settings, whether to enable Hybrid+ and bandwidth throttling
  6. Once completed, your backup will start automatically.
+ How can I sign up for your service?
Please contact us with your storage requirements and we will gladly assist you.
+ How can I edit my backup settings?
Open the desktop software and click on Select Data if you wish to modify your backup selections, or settings to change your backup settings
+ How secure is your service?
We use modern encryption methods to both transfer and store your data.
  • Files are encrypted before leaving your machine using 256-AES. You can specify your own encryption password
  • Data is transferred over a 256-AES SSL encrypted layer.
  • The website and client software have been hardened against attacks from hackers.
  • Data is encrypted with 256-AES Server Side encryption.
  • Data is stored on Amazon AWS storage; all files are duplicated through multiple facilities across the globe ensuring 99.9999% availability and reliability.
+ Do you support backing up Servers?
Yes, we support backing up Windows Servers. Please contact us with your server’s storage requirements and we will gladly assist you.
+ Can I save a copy of my backup to my local Server, external or network drive?
Yes you can by enabling Hybrid+ from the Settings page inside the desktop software.
+ How I can restore files?
From the website:
  1. Sign in to your online account.
  2. Go to My Computers
  3. Select the files you wish to restore
  4. Click on the download icon
From your computer:
  1. Open the desktop software and click Restore
  2. Select the files you wish to restore
  3. Follow the restore wizard
+ What is Hybrid+?
Hybrid+ doubles your backup protection by creating a copy of every backed up file to a local server, external or network drive; ensuring faster recovery when needed.
The restore is intelligent enough to minimize recovery time by checking your local hybrid storage for the file before restoring it from the web; reducing time and bandwidth resources.
+ What is Show Files?
Show files allows the administrator of any business account to view and manage files of the users. If this feature does not comply with your company policies, please contact your service provider.
+How to perform a clean uninstall of PolarBackup ?
  • For Windows:
    1. Go to your Control Panel → Programs and Features → PolarBackup → Uninstall.
    2. Now, PolarBackup Uninstall wizard will start, to perform a clean uninstall, make sure that the option Keep PolarBackup Settings (Recommended if you wish to reinstall) is not selected.
    3. Proceed with the uninstallation wizard.
  • For MAC:
    1. Click Go on the Finder bar → Applications → From the list of your installed applications, locate both of PolarBackup and PolarBackup Restore apps, and delete them from there. (Drag them to the Trash)
    2. Click Go on the Finder bar again → Go to folder.. → Type ~/.config/ and hit Enter → PolarBackup → Delete the whole PolarBackup folder from there. (Drag it to the Trash)

Note: If you chose not to keep PolarBackup settings, you will need to start a new backup from scratch and PolarBackup won’t recognize the older backup of this machine.

 
Delete User
Are you sure you want to delete this user?